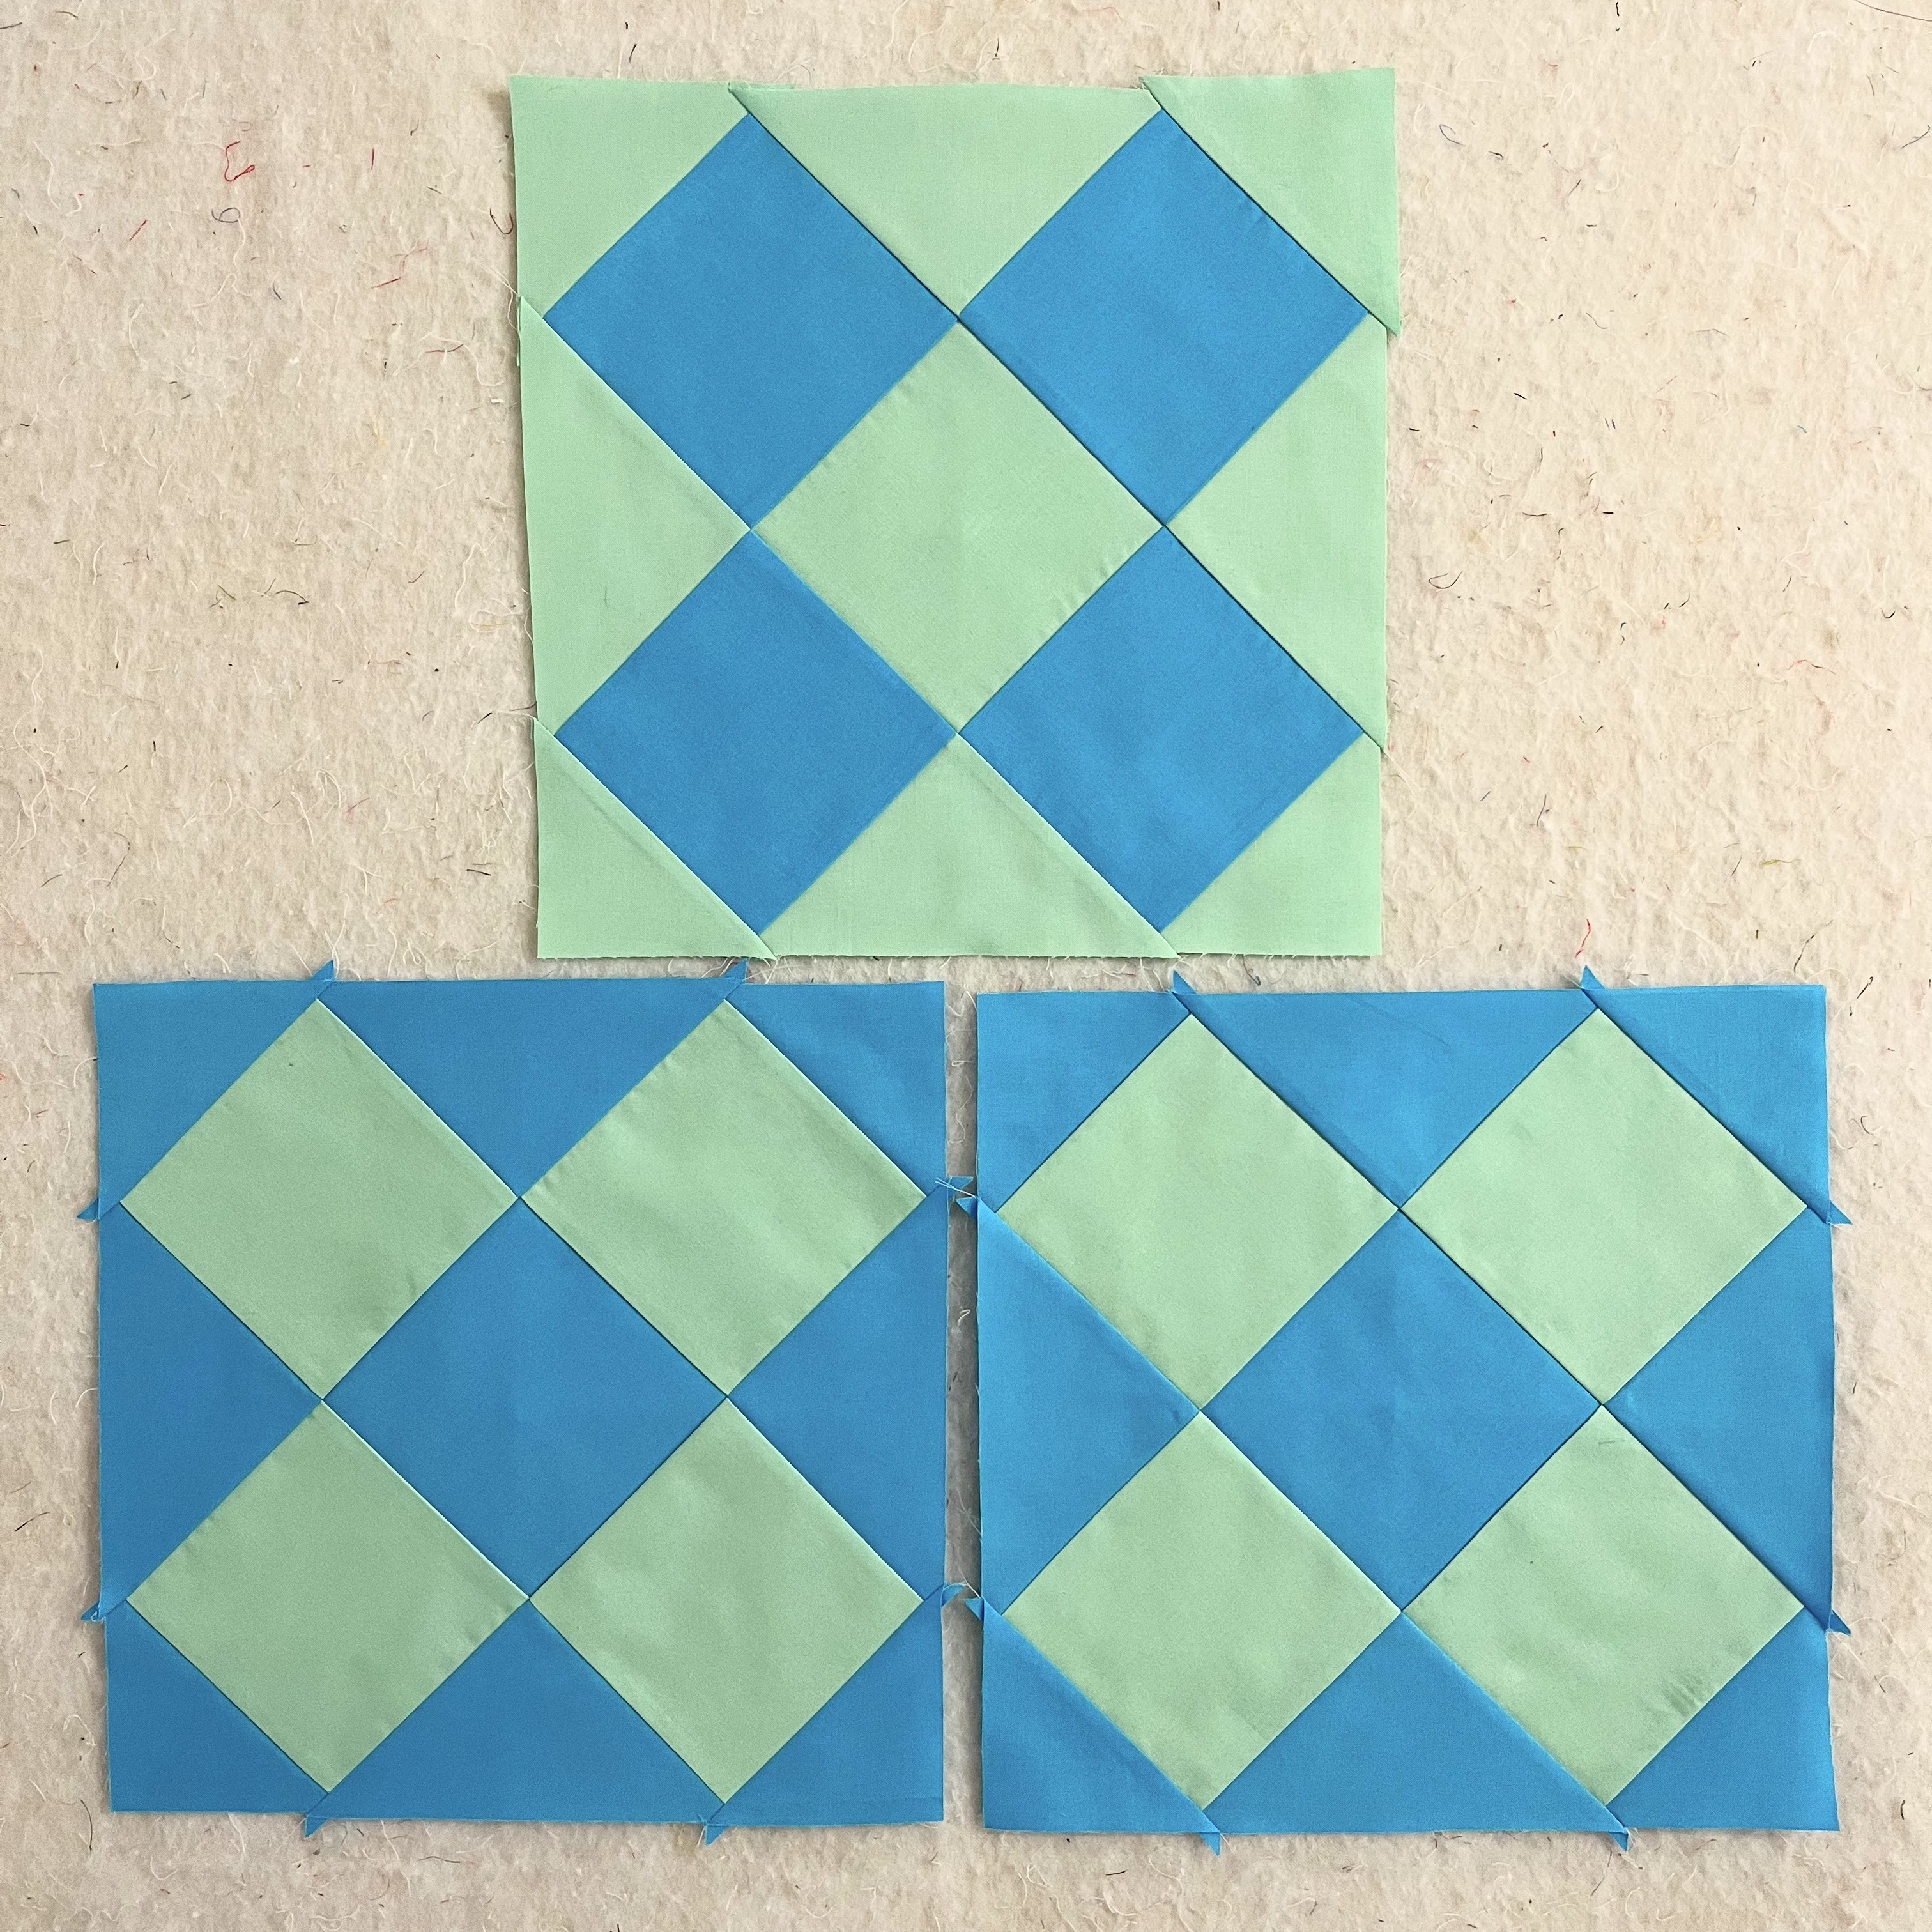
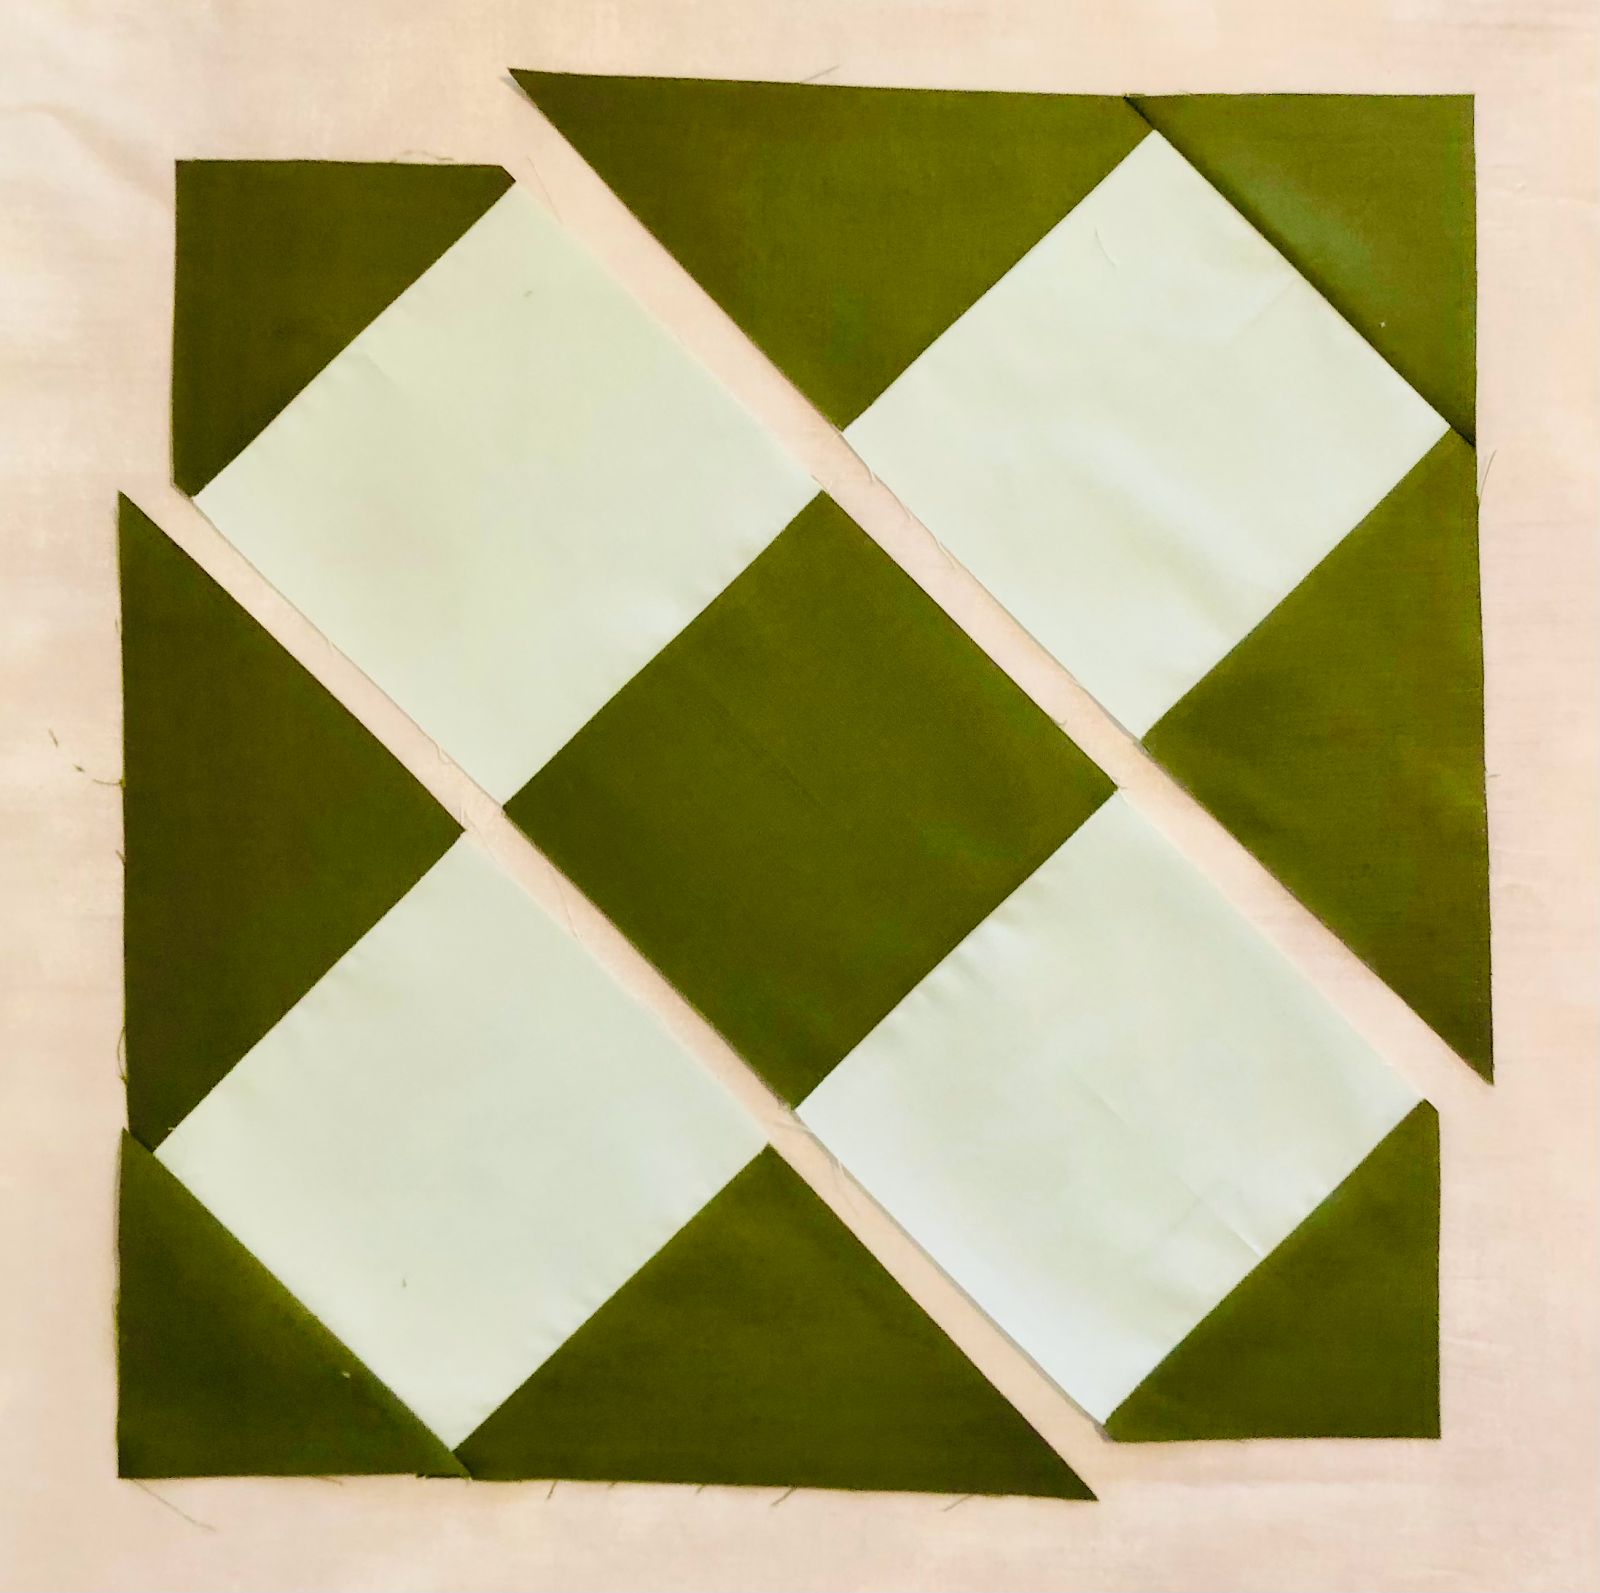
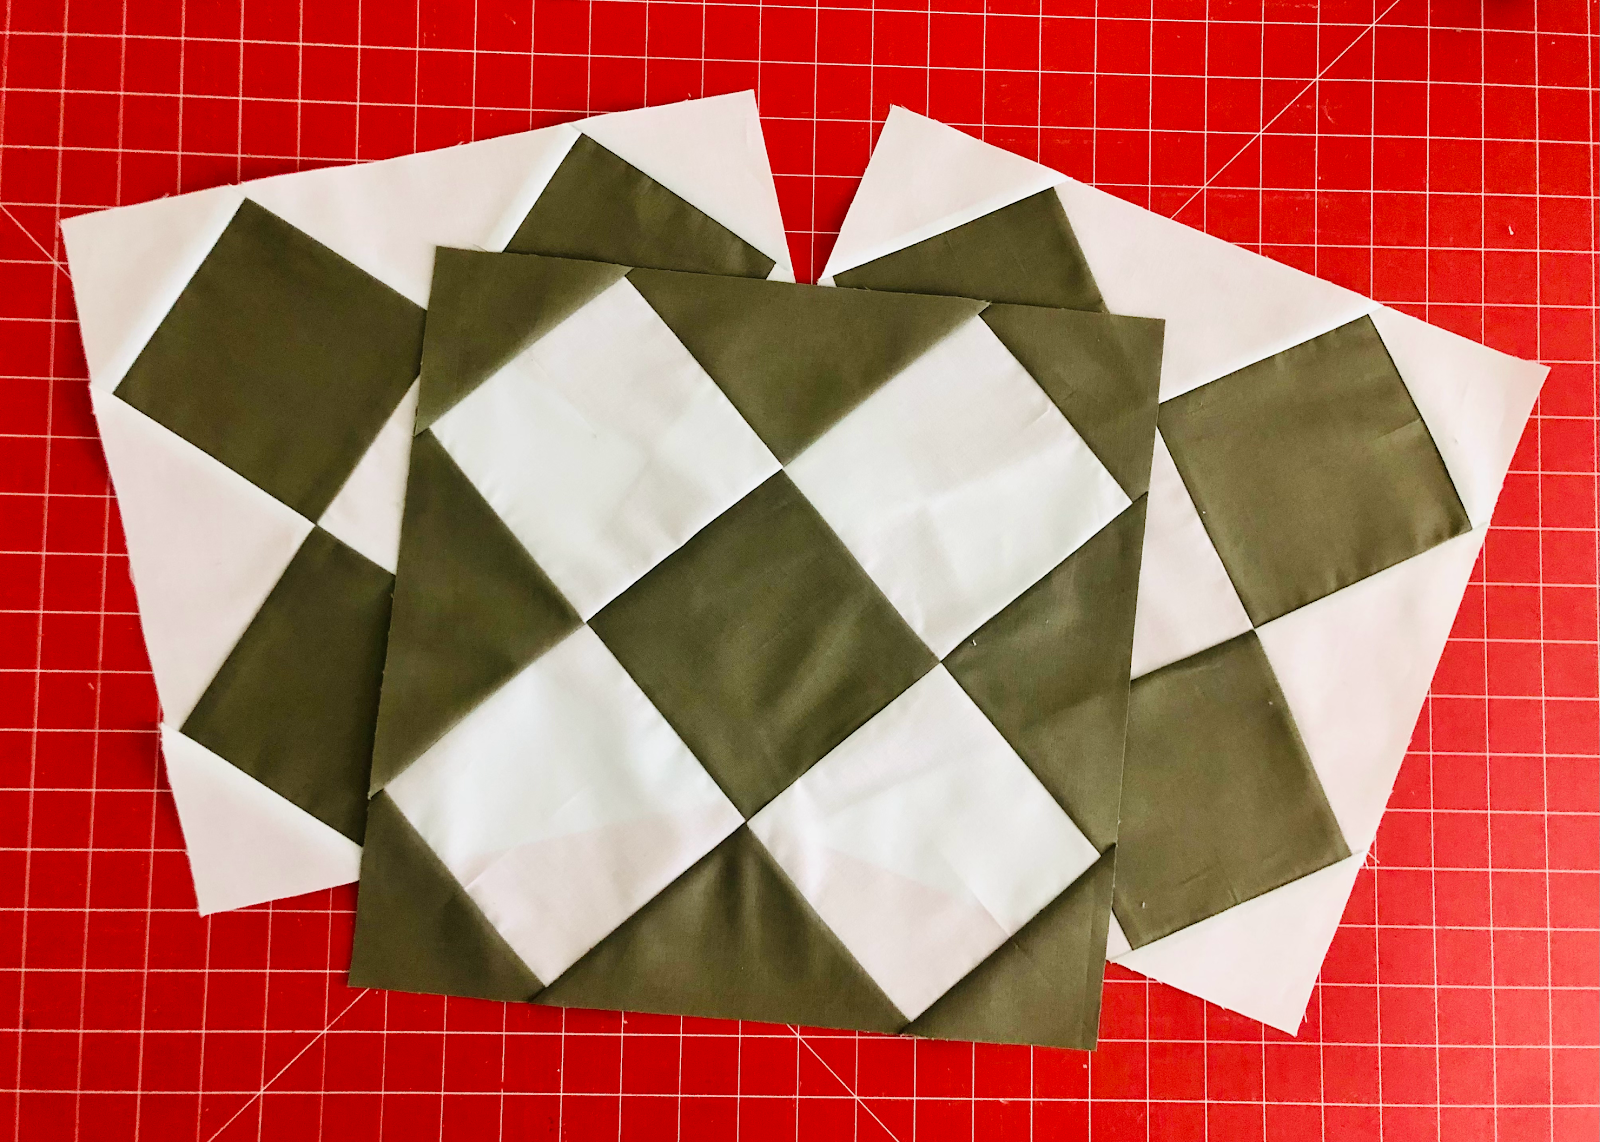
Ready for Block 7 of our block of the month quilt-along?? This is a fun one that uses foundation paper piecing for precise results -- it's bold and graphic and so easy to make because ALL 3 BLOCKS ARE EXACTLY THE SAME! That's right, no figuring out how many of this color for this block vs. for that block. Nope, just make 3 identical blocks and admire your handiwork.
It's called Crossed Canoes, and we're using an FPP template (and instructions, if you need them) from Art Gallery Fabrics.
Here's the link to download and print the templates: https://liveartgalleryfabrics.com/wp-content/uploads/2017/07/AGF-QBC-Crossed-Canoes-Block_1.pdf
NOTE: When printing off the templates, make sure that your printer is set at 100% -- you don't want to enlarge or reduce the template at all or the blocks won't fit together properly and your unfinished block won't be 12.5".
I've done a little of the prep work for you to hopefully make this block a little easier to make in our two-color format.
1. Print/copy 12 paper templates. (Each block requires 4 templates, so 4 x 3 blocks.)
2. Mark the templates with color codes so that you can keep track of what color fabric goes where. You can see in the photo below that I used a B for blue and G for green. For each block, you'll have two templates marked one way and two templates marked in the opposite way. It's easy to get confused as you go along, so the marks will help.
3. To make all three blocks, cut the following from both of your two fabrics:
- Six pieces at 3.5 x 8 inches (that's six of Fabric A and six of Fabric B)
- Twelve pieces at 5 x 8.25 inches (that's twelve of Fabric A and twelve of Fabric B)
- The scraps you remove from the two side pieces (2 and 3 in the template) can be used for piece 4 in the template. You may also have some scraps left over from previous blocks that will work here too.
4. Reduce the stitch length on your sewing machine for sewing the fabric to the paper. Mine is less than 2. The smaller stitches will make it easier to remove the paper at the end (more perforations) and cause less stress on your stitches.
5. I recommend leaving the paper on your blocks until we're finished with the monthly block releases and ready to sew everything together. The paper will stabilize the bias edges for now.
I took some process photos as I made my blocks, if you prefer more visual instructions.

 |
| Piece 1 on the back side of the template. Use a dab of glue stick to hold it in place. |
 |
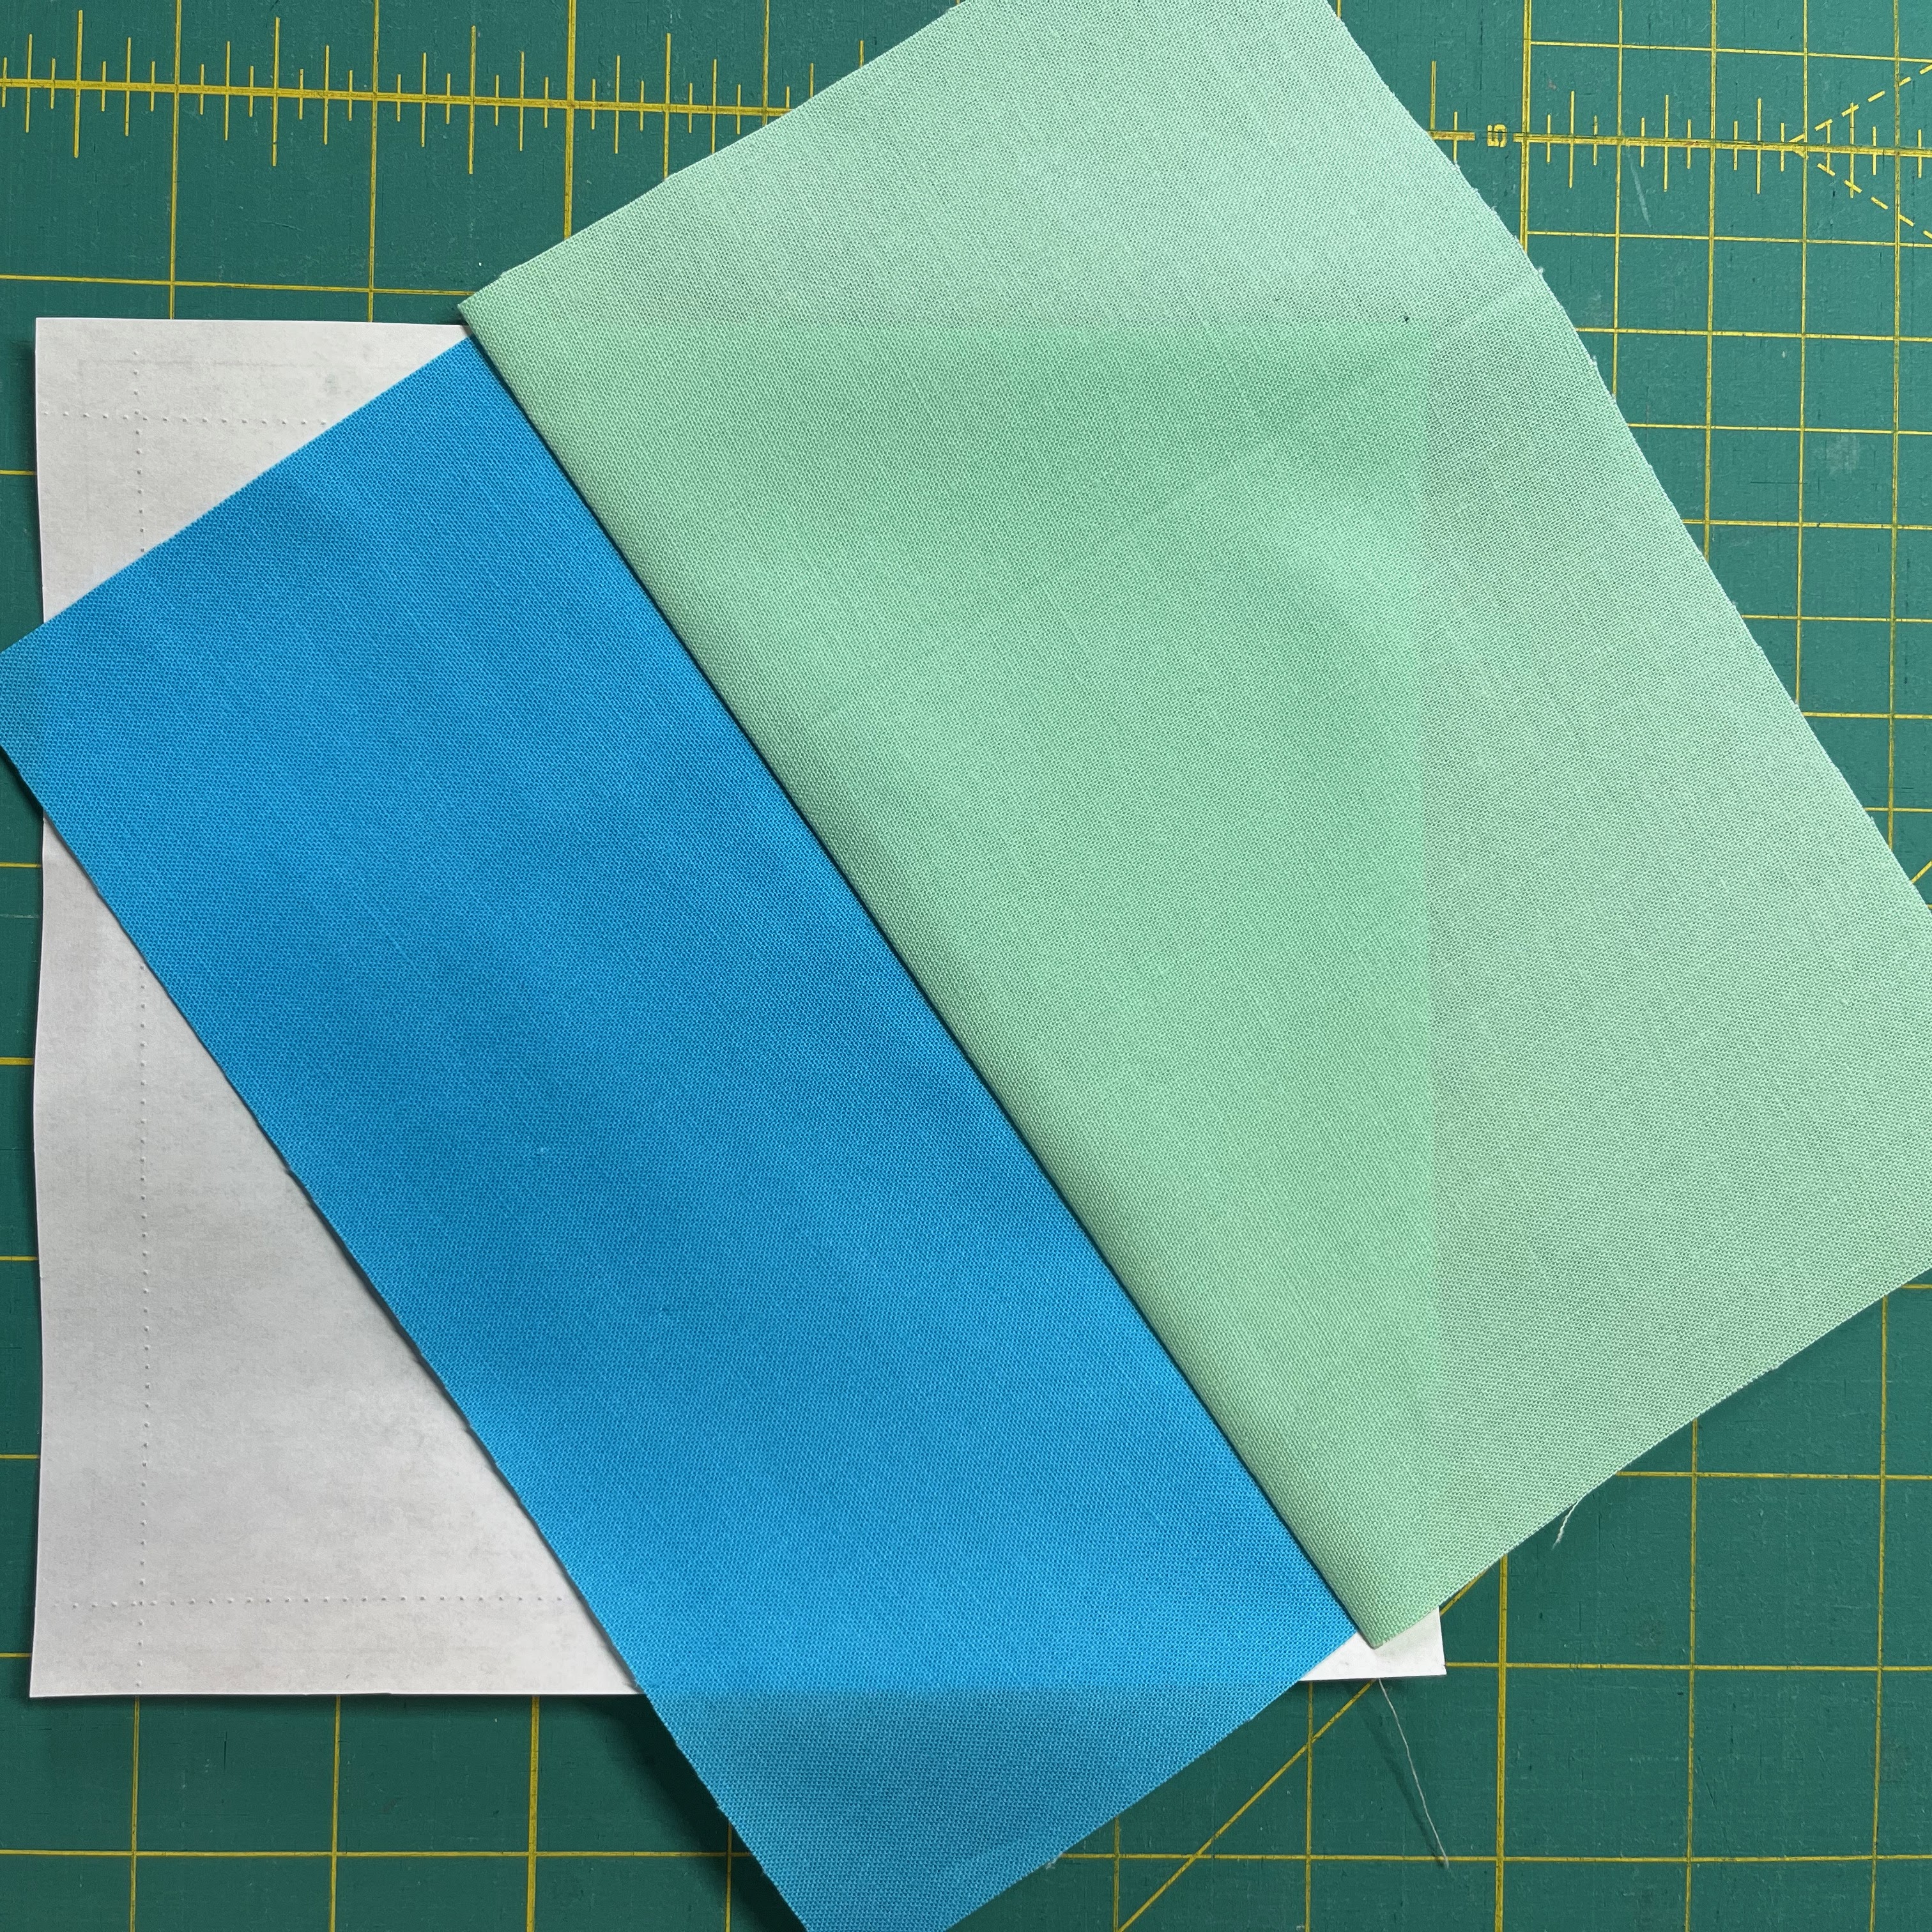
| Lay piece 2 on top of piece 1, aligning that right edge where you will sew the first line. |
 |
| Flip the paper over to sew on the line between pieces 1 and 2. Flip it back over and it looks like this. |
 |
| I like the fold the paper back along my stitching line and trim the seam allowance to reduce bulk and any shadowing on the front side. |
 |
| Flip piece 2 over the stitching line and press. |
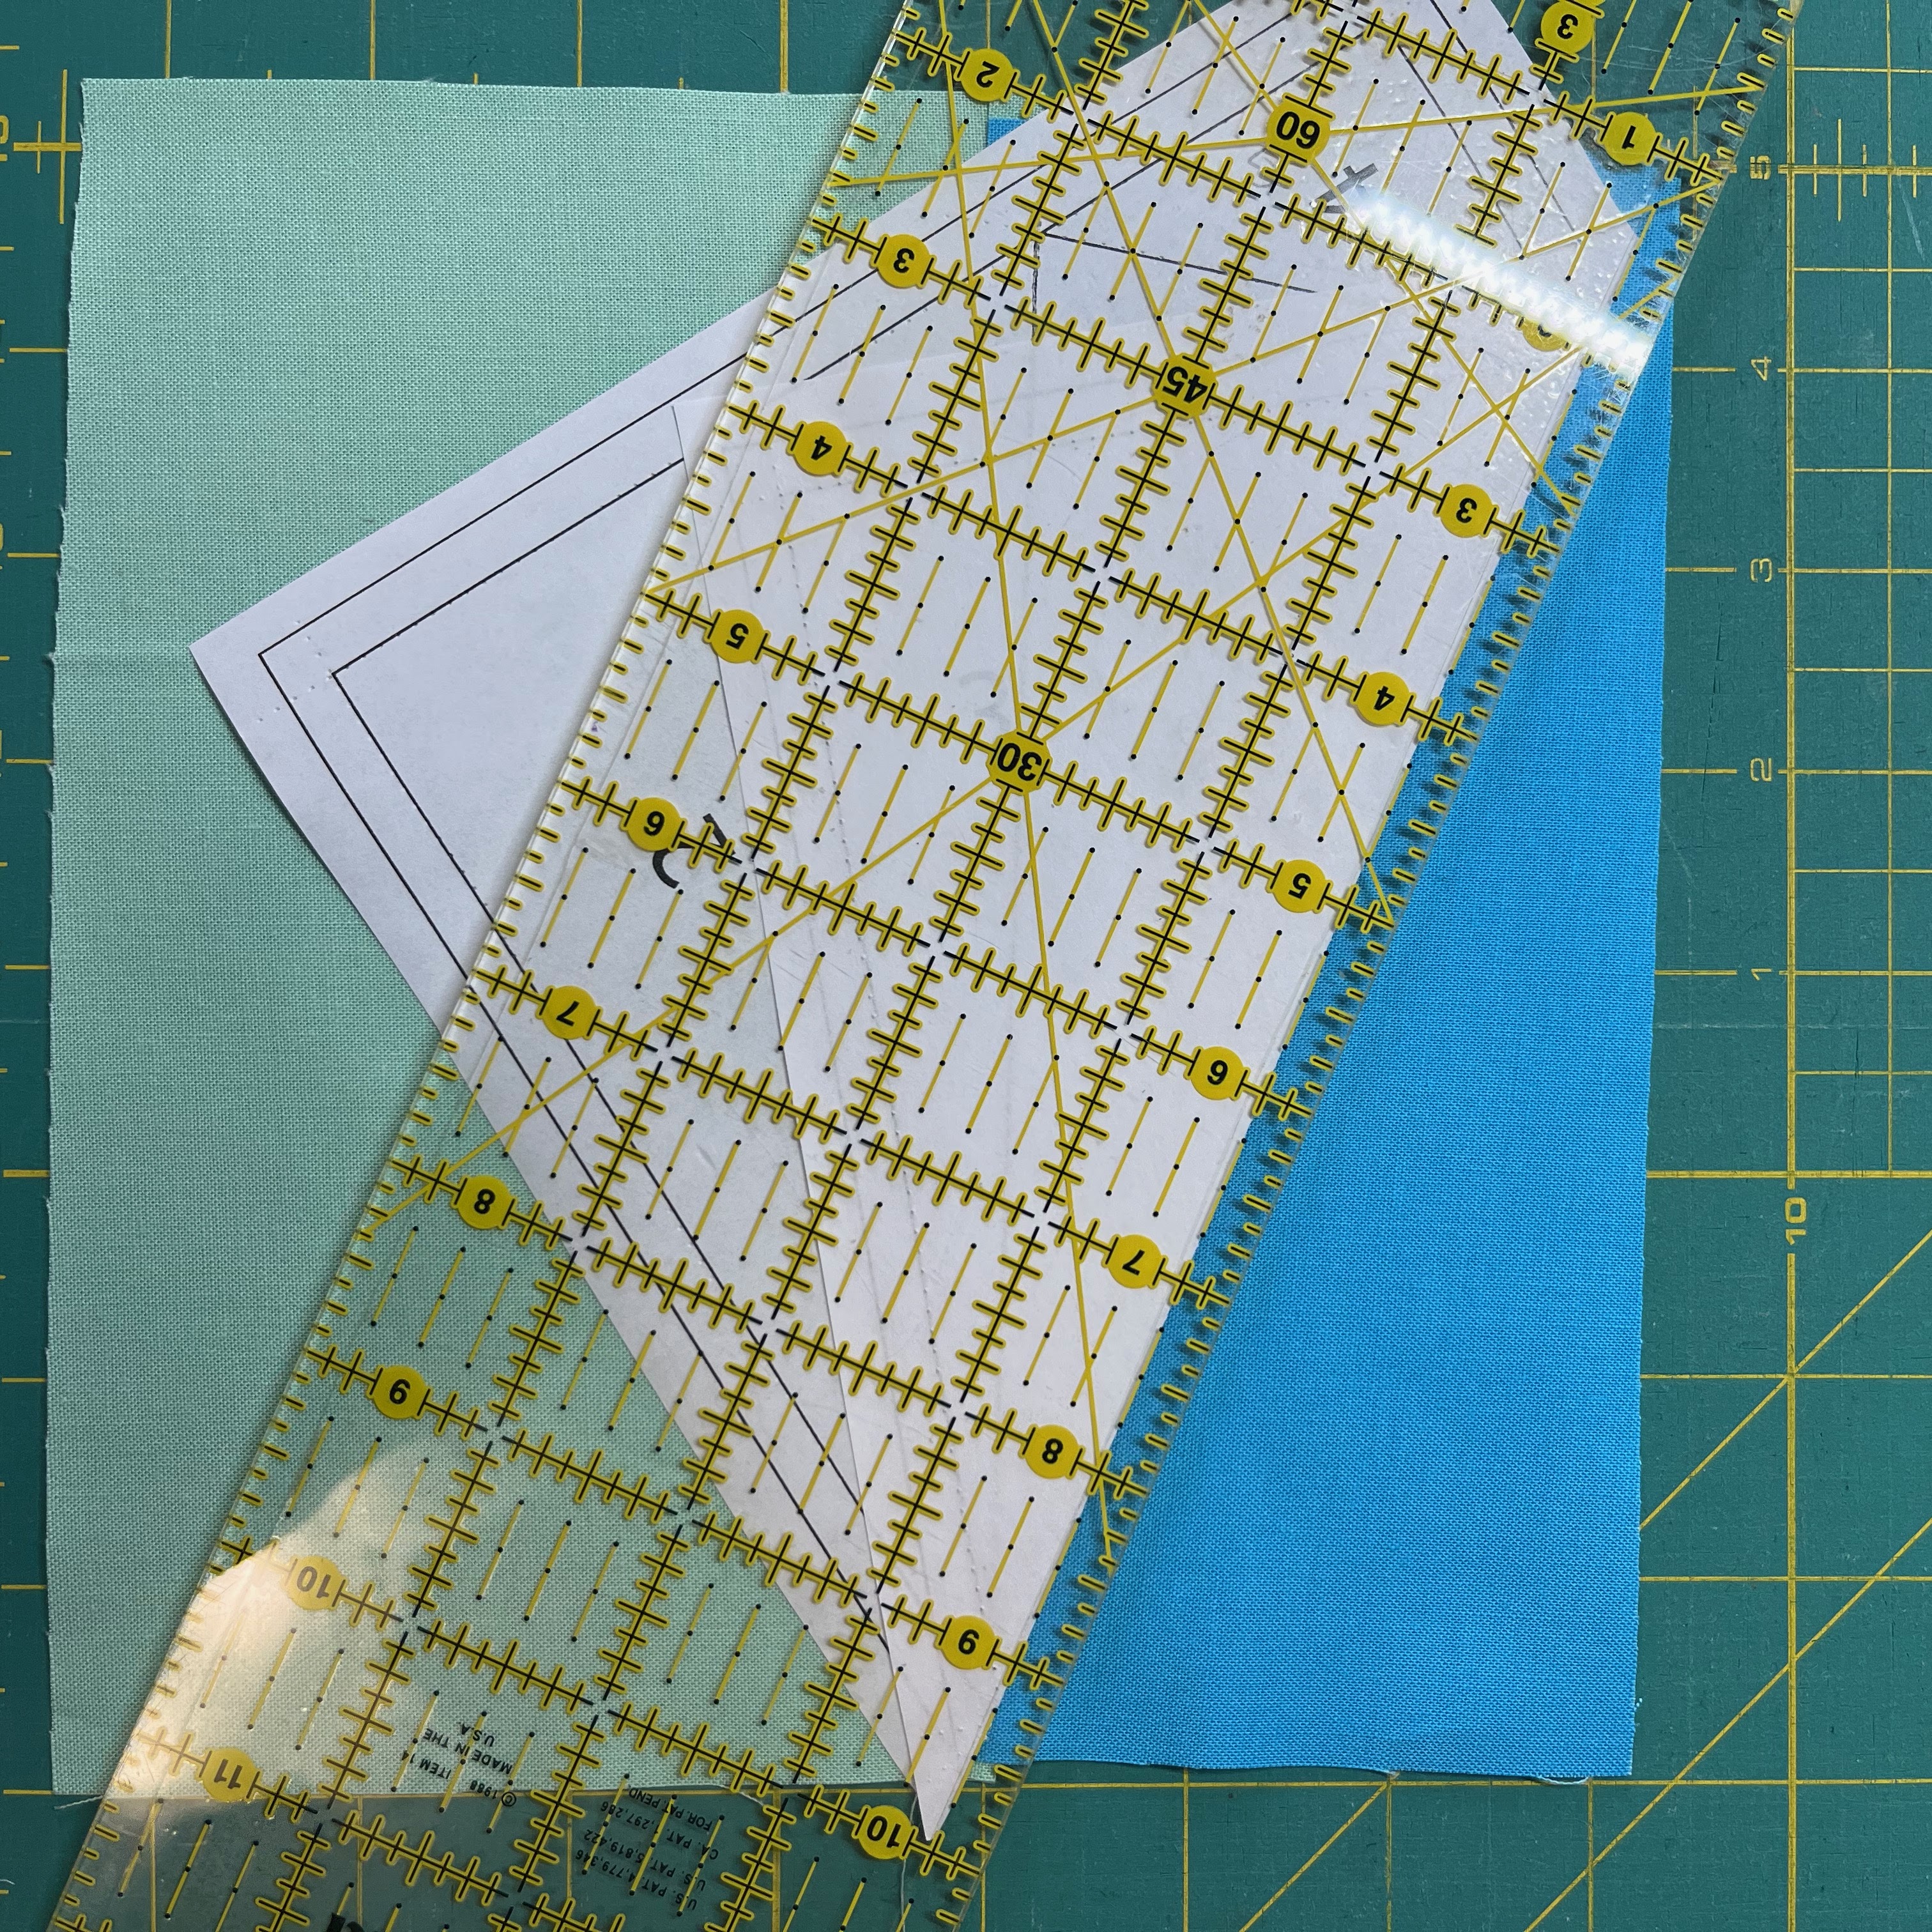 |
| Before adding the other side piece (it doesn't matter if you do 2 and 3 in order), I like to fold back the paper along the line I'll stitch and trim the piece 1 seam allowance to 1/4". This reduces bulk and lets you line up the side piece exactly with the edge. |
 |
| Place the next side piece along that trimmed piece 1 edge. |
 |
| Flip the template over to stitch on the line. Flip it back and it looks like this. Press the side piece open like you did with the first one (I missed a photo of this!) |
 |
| Again, I like to fold back my next piece and trim to 1/4". |
 |
| Put the small triangle for piece 4 in place. (If you want to trim some of the excess side pieces away, you can use them for this piece. |
 |
| Stitch on the line, flip it over and it should look like this. |
 |
| Flip and press |
 |
| Trim to the outside line |
 |
| Lay out the four blocks and sew together in pairs. Press the seams open for the flattest result. Then sew the two rows together. |